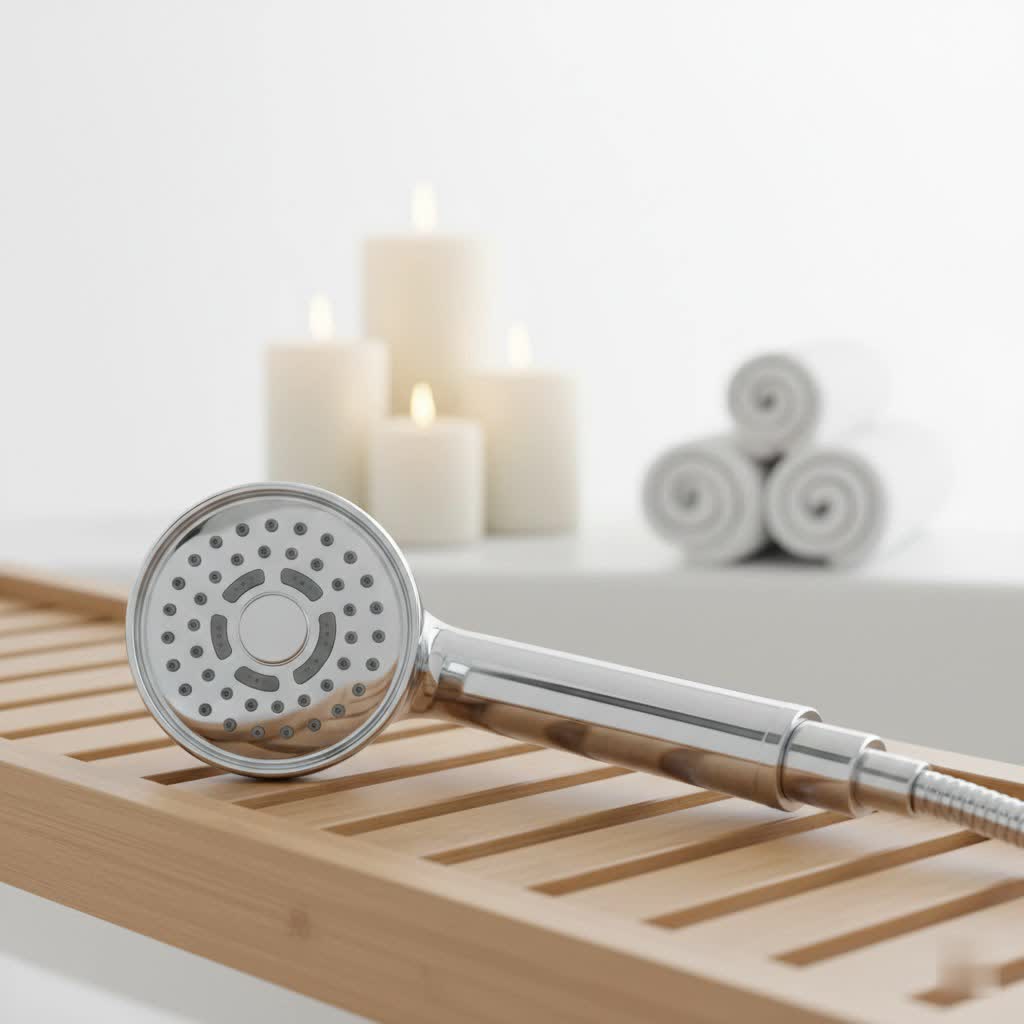
Have you ever stepped into your shower, hoping for a revitalizing cascade, only to be met with a disappointing dribble? A tired shower head can truly diminish your daily routine, but the good news is that replacing a shower head is one of the most straightforward and impactful home improvements you can undertake. It’s a simple project that can dramatically transform your showering experience, enhancing both comfort and the aesthetic appeal of your bathroom. From boosting water pressure to introducing luxurious spray settings or even filtering out impurities, a new shower head can make a world of difference. This comprehensive guide will walk you through everything you need to know, from understanding different types of shower heads to a detailed, step-by-step installation process, ensuring you can tackle this upgrade with confidence.
Understanding Your Shower Head: Overview and Evolution
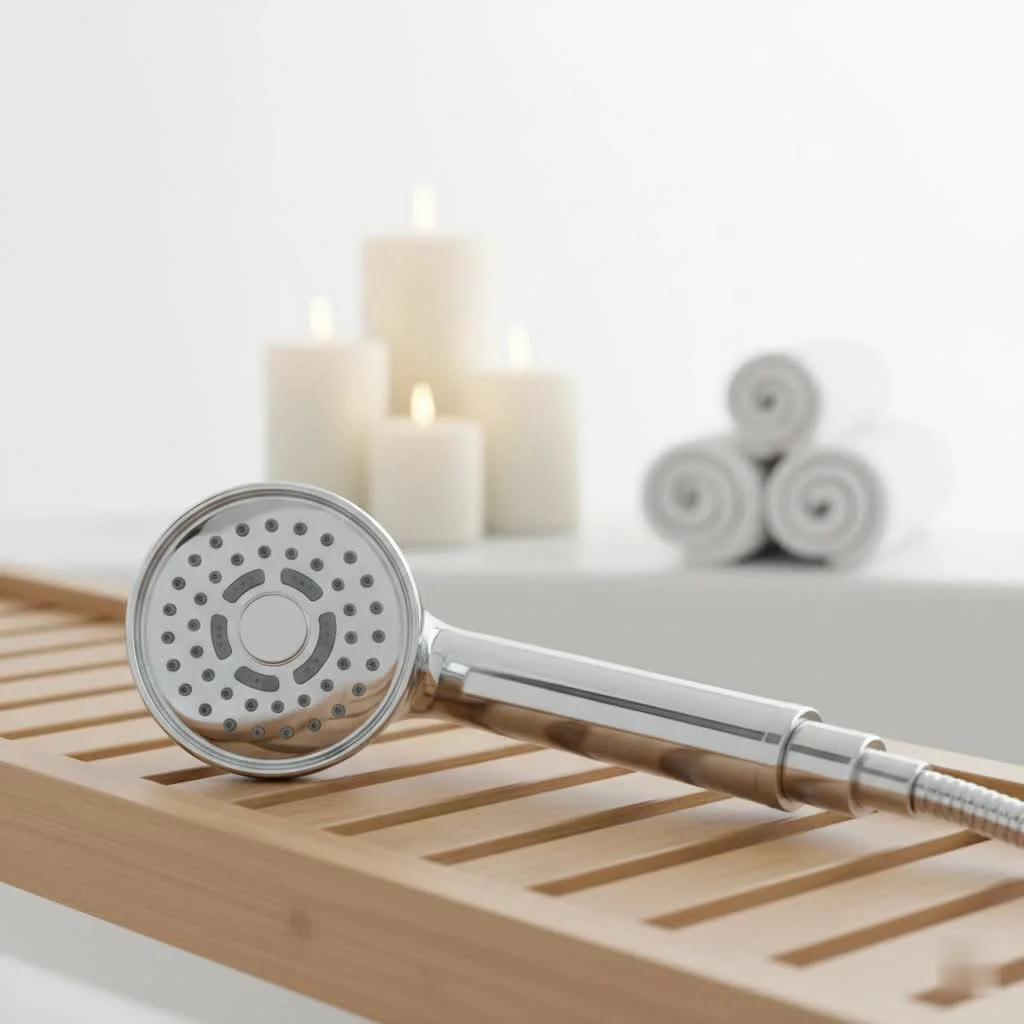
At its core, a shower head is a fixture designed to disperse water for bathing, mounted either directly on a wall, from the ceiling, or as a handheld unit. Its primary purpose is to provide an efficient and enjoyable way to cleanse, but its role has significantly expanded over time. Early shower devices were rudimentary, often just a simple spout. However, the evolution of the shower head has been driven by innovation in plumbing, material science, and a growing understanding of hydrodynamics, leading to the sophisticated, feature-rich models we see today. For browse all shower heads articles on this site.
Modern shower heads come in a vast array of designs and functionalities, moving far beyond mere utility. They now offer diverse spray patterns, water-saving technologies, and even health-focused features like filtration. Common types found on the market include fixed, handheld, high-pressure, water-saving, massage, and filtered units, each designed to cater to specific preferences and needs, ensuring there’s a perfect fit for every bathroom and every bather.
Reasons to Replace Your Shower Head: When and Why
Knowing when to replace a shower head is crucial for maintaining an optimal showering experience and preventing potential plumbing issues. Several common signs indicate it might be time for an upgrade, offering both functional improvements and aesthetic benefits.
One of the most frequent reasons is low water pressure or clogs from mineral deposits. Over time, hard water minerals like calcium and magnesium can accumulate inside the shower head nozzles, restricting water flow and leading to a weak, uneven spray or even complete blockages. You might also notice leaks and drips from the shower head, even when the water is turned off. These leaks not only waste water and increase utility bills but can also be a sign of worn-out internal components or seals.
Corrosion or rust on the shower head is another clear indicator, often caused by prolonged exposure to water and chemicals, which can compromise its integrity and appearance. Similarly, strange noises like whistling, rattling, or gurgling during a shower can point to internal issues such as loose parts or mineral buildup disturbing water flow. Beyond these functional problems, many people choose to replace their shower head for a desired upgrade. This could be for aesthetic reasons, to match a new bathroom decor, or to introduce new features like multiple spray settings, water-saving technology, or a built-in filter for cleaner, healthier water. Replacing an old, inefficient model with a new one can also be a proactive step toward water conservation and reduced energy costs.
Types of Shower Heads: Functionality and Design
The world of shower heads offers an impressive variety, each designed with specific functions and aesthetic appeals in mind. Understanding the different types can help you choose the perfect replacement to suit your daily needs and bathroom style.
Fixed Shower Heads
|
Our Picks for the Best Shower Head in 2026
As an Amazon Associate I earn from qualifying purchases.
|
||
| Num | Product | Action |
|---|---|---|
| 1 | SparkPod Shower Head - High Pressure Rain - Premium Quality Luxury Design - Easy Clean Adjustable Replacement for Your Bathroom Shower Heads (Egyptian Gold, 6 Inch Round) |

|
| 2 | SparkPod Shower Head - High Pressure Rain - Premium Quality Luxury Design - Easy Clean Adjustable Replacement for Your Bathroom Shower Heads (Charcoal Grey, 6 Inch Round) |
|
| 3 | SparkPod Shower Head - High Pressure Rain - Premium Quality Luxury Design - Easy Clean Adjustable Replacement for Your Bathroom Shower Heads (Luxury Polished Chrome, 6 Inch Round) |
|
| 4 | Shower Head with Handheld High Pressure, Rain Shower Head with Fixed Showerhead and 9 Sprays Handheld Shower, Detachable 2-IN-1 Shower head with 59" Rotatable Stainless Steel Hose (Chrome) |
|
| 5 | High Pressure Rain Shower Head: Upgrade Shower Heads with Handheld Spray Combo with Fixed Showerhead and 10 Sprays Handheld Shower Head, Detachable Showerheads Built-in Magnetic Docking and Power Jets |
|
| 6 | High Pressure Rain Shower Head: Upgrade Shower Heads with Handheld Spray Combo with Fixed Showerhead and 10 Sprays Handheld Shower Head, Detachable Showerheads Built-in Magnetic Docking and Power Jets |
|
| 7 | High Pressure Rain Shower Head: Upgrade Shower Heads with Handheld Spray Combo with Fixed Showerhead and 10 Sprays Handheld Shower Head, Detachable Shower head Built-in Power Jets |
|
| 8 | SparkPod Shower Head - High Pressure Rain - Premium Quality Luxury Design - Easy Clean Adjustable Replacement for Your Bathroom Shower Heads (Midnight Black Matte, 6 Inch Round) |
|
| 9 | SparkPod Shower Head - High Pressure Rain - Premium Quality Luxury Design - Easy Clean Adjustable Replacement for Your Bathroom Shower Heads (Elegant Brushed Nickel, 6 Inch Round) |
|
| 10 | Cobbe All Metal Shower Head with Handheld – Solid Stainless Steel 3-Mode High Pressure Showerhead, Detachable Wand with 59" Hose & Adjustable Bracket Water Saving Eco-Flow, Brushed Nickel |
|
Fixed shower heads, also known as wall-mounted shower heads, are the most traditional and common type. They are permanently attached to the shower arm extending from the wall, providing a consistent, stationary stream of water.
- Pros: Generally affordable, easy to install, and offer a clean, minimalist look. They are durable and require minimal maintenance once installed.
- Cons: Lack flexibility, making it harder to rinse specific body parts or clean the shower enclosure. The spray pattern and height are fixed.
- Popular Designs: Include classic round designs, modern square or rectangular shapes, and large rainfall-style heads that mimic a natural downpour.
Handheld Shower Heads
Handheld shower heads are connected to the shower arm via a flexible hose, allowing you to remove the head from its mount and direct the water exactly where you need it.
- Pros: Offer incredible versatility for rinsing, washing children or pets, and cleaning the shower. Many models come with multiple spray settings.
- Cons: The hose can sometimes be cumbersome or difficult to manage, and they might have a slightly higher initial cost than basic fixed models.
- Features and Flexible Applications: Ideal for accessibility, targeted rinsing, and can significantly aid in keeping your shower space spotless.
High-Pressure Shower Heads
Designed to deliver a powerful, invigorating spray, high-pressure shower heads are engineered to optimize water flow, even in homes with naturally low water pressure.
- Cơ chế hoạt động và lợi ích: They often utilize technologies like narrow internal channels or air induction to increase the velocity of water exiting the nozzles, providing a more forceful and satisfying shower.
- Phù hợp cho những khu vực có áp lực nước yếu: These are perfect for those frustrated by weak trickles, making every shower feel more robust and refreshing.
Water-Saving Shower Heads
Eco-conscious consumers or those looking to reduce utility bills often opt for water-saving shower heads, which are designed to minimize water consumption without compromising performance.
- Công nghệ tiết kiệm nước được sử dụng: These heads typically have a lower flow rate (measured in gallons per minute, GPM) compared to standard models, often incorporating aerators or flow restrictors.
- Lợi ích về môi trường và kinh tế: By using less hot water, they reduce both water and energy consumption, leading to lower monthly bills and a smaller environmental footprint.
Massage Shower Heads
For those who view showering as a therapeutic escape, massage shower heads offer targeted pulsating or oscillating streams designed to soothe sore muscles and promote relaxation.
- Các chế độ massage khác nhau: They come with various settings, from gentle pulse to powerful jet, allowing users to customize their massage experience.
- Lợi ích cho sức khỏe và thư giãn: These settings can help alleviate muscle tension, improve circulation, and provide a spa-like experience right in your bathroom.
Filtered Shower Heads
Filtered shower heads incorporate a filtration system directly within the head or as an inline attachment, removing impurities from the water before it reaches your skin and hair.
- Công dụng lọc cặn bẩn và clo trong nước: They typically target chlorine, heavy metals, sediment, and other contaminants commonly found in tap water.
- Lợi ích cho da và tóc: Filtering water can lead to softer skin, healthier hair, and can be particularly beneficial for individuals with sensitivities or conditions like eczema. Some even incorporate beneficial minerals or vitamin C.
Choosing Your New Shower Head: A Comprehensive Buying Guide
Selecting the right shower head replacement involves more than just picking a design you like. Considering several practical factors will ensure your new fixture meets your needs, performs optimally, and integrates seamlessly into your bathroom.
Water Pressure Considerations
The existing water pressure in your home is a primary factor in choosing a new shower head. A high-pressure shower head might be redundant if your home already has robust water flow, while a low-flow model could exacerbate problems in a weak-pressure system.
- Checking your home’s water pressure: You can easily test your water pressure with a gauge, or simply observe your current shower’s performance. If your existing shower head struggles, you likely have lower pressure.
- Matching shower head to water pressure: For homes with low pressure, look for “high-pressure” or “power spray” models. If you have good pressure, you have more flexibility, including water-saving options.
Material and Durability
The material of your shower head affects both its longevity and aesthetic. Common materials include various plastics, metals, and stainless steel.
- Các loại chất liệu phổ biến: ABS plastic is lightweight and affordable, often coated with chrome or other finishes. Brass and stainless steel offer superior durability and a more premium feel, resisting corrosion better.
- Ưu và nhược điểm của từng loại chất liệu: Plastic is budget-friendly but less durable. Metal options are more robust, resisting cracks and corrosion, but come at a higher price point. Chrome, brushed nickel, and oil-rubbed bronze are popular finishes that can impact both look and resistance to water spots.
Functions and Spray Patterns
Modern shower heads offer a range of spray patterns that can dramatically alter your showering experience.
- Các chế độ phun khác nhau: These often include a wide “rain” or “full” spray for gentle coverage, a targeted “massage” or “jet” spray for muscle relief, a fine “mist” for a steam-like experience, and “aerated” sprays for a softer, air-infused stream.
- Chọn Shower Head có chức năng phù hợp với nhu cầu: Consider your preferences. Do you crave an invigorating wake-up call, a relaxing soak, or both? Many multi-function shower heads allow you to switch between these with ease.
Size and Design
The size and overall design of your new shower head should complement your bathroom’s existing decor and the dimensions of your shower enclosure.
- Fitting into bathroom space: A large rainfall head might feel luxurious in a spacious walk-in shower but overwhelming in a smaller alcove. Consider the reach of a handheld unit’s hose.
- Aesthetic styles: Whether your bathroom is modern, classic, minimalist, or industrial, there’s a shower head design to match. Finishes like chrome, matte black, and brushed nickel are popular choices that can tie the whole room together.
Brand Reputation and Price
Investing in a reputable brand often means better quality, reliability, and customer support.
- Trusted brands: Researching well-known brands like Delta, Moen, Kohler, or Hansgrohe can give you a starting point. Reviews from other users are also invaluable.
- Balancing quality with budget: Prices can vary significantly based on brand, material, and features. Determine your budget beforehand and look for the best value within that range, understanding that a slightly higher initial investment can mean greater durability and performance long-term.
Ease of Installation and Maintenance
For a DIY replacement project, choosing a shower head that is easy to install can save you time and hassle.
- DIY-friendly models: Most standard shower heads are designed for straightforward, tool-minimal installation. Handheld models sometimes require an extra step for the hose connection.
- Simple cleaning features: Look for features like rubber nozzles that are easy to wipe clean to prevent mineral buildup, or designs that can be easily detached for soaking. This will extend the life of your shower head and maintain optimal spray performance.
Step-by-Step Guide: How to Replace Your Shower Head
Replacing a shower head is a project most homeowners can complete with basic tools and a little patience. Follow these simple steps for a seamless upgrade.
Gather Your Tools and Materials
Before you begin, ensure you have everything you need to avoid interruptions.
- List: You will need a new shower head (of your chosen type), thread seal tape (also known as plumber’s tape or Teflon tape) to prevent leaks, an adjustable wrench or channel-lock pliers for loosening stubborn connections, and a rag or towel to protect finishes and wipe up spills. Optionally, a wire brush might be useful for cleaning old threads, and penetrating lubricant if the old head is exceptionally stuck.
Turn Off the Water Supply
Safety first! This crucial step prevents unexpected sprays and potential flooding.
- Locating the main water valve: Find the main water shut-off valve for your home. This is typically in your basement, utility closet, garage, or outside near your water meter. Turn it off to stop the water flow to your shower. If your shower has an individual shut-off valve, you can use that instead.
Remove the Old Shower Head
With the water off, you can safely remove the existing fixture.
- Counter-clockwise, hand-tight or with a wrench (protecting finish): Most shower heads simply unscrew by turning them counter-clockwise. Try by hand first. If it’s stuck due to mineral buildup or overtightening, wrap the shower arm with your rag or towel to protect its finish, then use your adjustable wrench or pliers to gently loosen and unscrew the head.
- Dealing with stubborn heads: If the head still won’t budge, apply a penetrating lubricant and let it sit for a few minutes. You can also try soaking the connection with white vinegar to dissolve limescale. Remember to support the shower arm coming out of the wall with a second wrench if necessary, to prevent it from twisting and potentially damaging the pipe inside the wall.
Clean and Prepare the Shower Arm
A clean connection ensures a tight seal for your new shower head.
- Removing old tape, mineral deposits, rust: Once the old head is off, inspect the threads on the shower arm. Use your fingers or a small wire brush to remove any remnants of old plumber’s tape, mineral deposits, rust, or sealant. A clean, smooth surface is essential for a leak-free installation.
Apply New Plumber’s Tape
This step is critical for preventing leaks.
- Clockwise, 2-3 wraps, ensuring tight seal: Take your new roll of thread seal tape. Starting from the end of the shower arm, wrap the tape around the threads clockwise two to three times. It’s important to wrap it clockwise so that when you screw on the new shower head, the tape tightens onto the threads rather than unraveling. Press the tape into the threads to ensure a good seal.
Install the New Shower Head
You’re almost there! It’s time to attach your new fixture.
- Hand-tighten clockwise: Carefully align your new shower head with the taped threads on the shower arm. Begin screwing it on clockwise by hand. Hand-tighten it until it feels snug. The internal washer in most new shower heads, combined with the plumber’s tape, will create a watertight seal.
- When to use a wrench (gently): Avoid overtightening, as this can strip threads or crack the new shower head. Only use a wrench for a final, gentle quarter-turn if absolutely necessary, ensuring you protect the finish with a rag. For handheld shower heads, first install the mount onto the shower arm, then connect the flexible hose to the mount and the handheld unit, tightening each connection.
Check for Leaks
The final test!
- Turn on water, inspect connections: Carefully turn the main water supply back on. Then, turn on your shower and thoroughly inspect all connections for any drips or leaks.
- Troubleshooting leaks: If you notice a leak, turn off the water supply again. Gently tighten the connection a little more. If the leak persists, you may need to remove the shower head, clean the threads again, and reapply the plumber’s tape, ensuring it’s wrapped correctly and adequately. Sometimes, a faulty washer inside the new shower head connection can also be the culprit.
Troubleshooting Common Shower Head Replacement Issues
Even with careful installation, you might encounter a few hiccups. Knowing how to address them can save you a call to a professional.
If your old shower head is stuck, this is usually due to excessive mineral buildup or an overly tight previous installation. Beyond using a wrench with a protective cloth, try applying a generous amount of white vinegar to the connection and letting it soak for a few hours or even overnight. The vinegar will help dissolve the mineral deposits, making it easier to loosen. For extremely stubborn cases, specialized rust removers can be applied.
Should your new shower head leak after installation, the most common cause is improper application of plumber’s tape or insufficient tightening. Turn off the water, remove the shower head, and carefully clean off all old tape and debris from the shower arm threads. Reapply fresh plumber’s tape, ensuring it wraps tightly and clockwise for two to three layers, then re-install the shower head, hand-tightening firmly before a gentle final turn with a wrench if needed. Sometimes, a rubber washer inside the new shower head may be missing or improperly seated, which also needs checking.
Finally, if you experience low water pressure with your new shower head, first confirm that the main water supply is fully open. Then, ensure the new shower head itself isn’t designed as a low-flow model, which might be too restrictive for your home’s existing pressure. Check for any internal flow restrictors that can sometimes be removed (though this may void warranties or violate local water efficiency regulations). Lastly, inspect the hose or shower arm for any kinks or blockages that might be impeding water flow.
Maintaining Your New Shower Head for Longevity
Once your new shower head is installed and functioning perfectly, a little routine maintenance will ensure it continues to provide an optimal showering experience for years to come.
- Regular cleaning tips: The most crucial step is regular cleaning to prevent mineral buildup, especially if you live in an area with hard water. Many modern shower heads feature rubber nozzles that can be easily wiped clean with your finger to dislodge mineral deposits. For a deeper clean, periodically remove the shower head and soak it in a solution of white vinegar and water for a few hours, or attach a plastic bag filled with vinegar around the head for an overnight soak. This dissolves limescale and keeps the spray holes clear.
- Preventing mineral buildup: Beyond cleaning, consider installing a water softener for your home if hard water is a persistent issue. This can dramatically reduce mineral accumulation not just in your shower head, but throughout your entire plumbing system.
- When to consider professional help: While shower head replacement is a DIY-friendly task, don’t hesitate to call a professional plumber if you encounter persistent leaks, damaged plumbing in the wall, or if you feel uncomfortable at any point during the process. A professional can quickly diagnose and fix complex issues, ensuring your shower system remains in excellent working order.
By understanding the various types, making an informed choice, and following a few simple installation and maintenance steps, you can confidently replace your shower head and elevate your daily shower from mundane to magnificent.
Frequently Asked Questions
How often should a shower head be replaced?
There’s no strict rule, but generally, a shower head should be replaced every 6 to 12 months for optimal hygiene and performance, especially if you have hard water. Mineral buildup and mold can accumulate, impacting water flow and potentially health. However, with good maintenance and cleaning, a quality shower head can last several years before needing replacement due to wear or a desire for an upgrade.
Do all shower heads fit all showers?
Most modern shower heads are designed with universal fittings (typically ½-inch NPT threads), meaning they will generally fit standard shower arms. However, it’s always wise to double-check the specifications of your new shower head and compare them with your existing setup to ensure compatibility, especially for specialized types or older plumbing systems.
What is the white tape used for when replacing a shower head?
The white tape is called thread seal tape, plumber’s tape, or Teflon tape. Its purpose is to create a watertight seal around the threaded connection between the shower arm and the shower head. It fills in any tiny gaps in the threads, preventing water from leaking out and ensuring a secure, leak-free connection.
Can I replace a shower head without turning off the water?
While it is technically possible to replace a shower head without turning off the main water supply, it is strongly advised against. Not turning off the water can lead to a sudden burst of water, potential flooding, and could make the installation process much more difficult and messy. Always prioritize safety and turn off the water supply before starting any plumbing work.
What causes low water pressure in a new shower head?
Low water pressure in a new shower head can be caused by several factors. First, ensure the main water supply is fully open. Next, check if the new shower head has an internal flow restrictor, which is designed to save water and might be limiting your pressure. Mineral buildup in the shower arm or pipes, or a partially closed shut-off valve elsewhere in your home’s plumbing system, could also be contributing factors.
Get our weekly buyer guide
Practical specs, not advice. Unsubscribe anytime.
